Saturday, October 5, 2019

You Are Loved | Citrus Twist Kits


Hey friends!  I'm here today with this week's 3-to-Inspire challenge.  This is one of my favorite challenges, because it's such a great way to get your creativity flowing by focusing on three key elements.

Here are the prompts:

1. Play with hexagons
2. Use a cut file
3. Add PURPLE

Here is my take on the challenge:


For my project, I used the October Scrapbooking Add-on Kit, the Life Crafted "At My Table" Kit, and a subscriber exclusive cut file- Screen 4.  I love the bright colors in the kits this month, especially the gorgeous purple!  In my opinion, it's not used nearly enough in scrapbooking products!

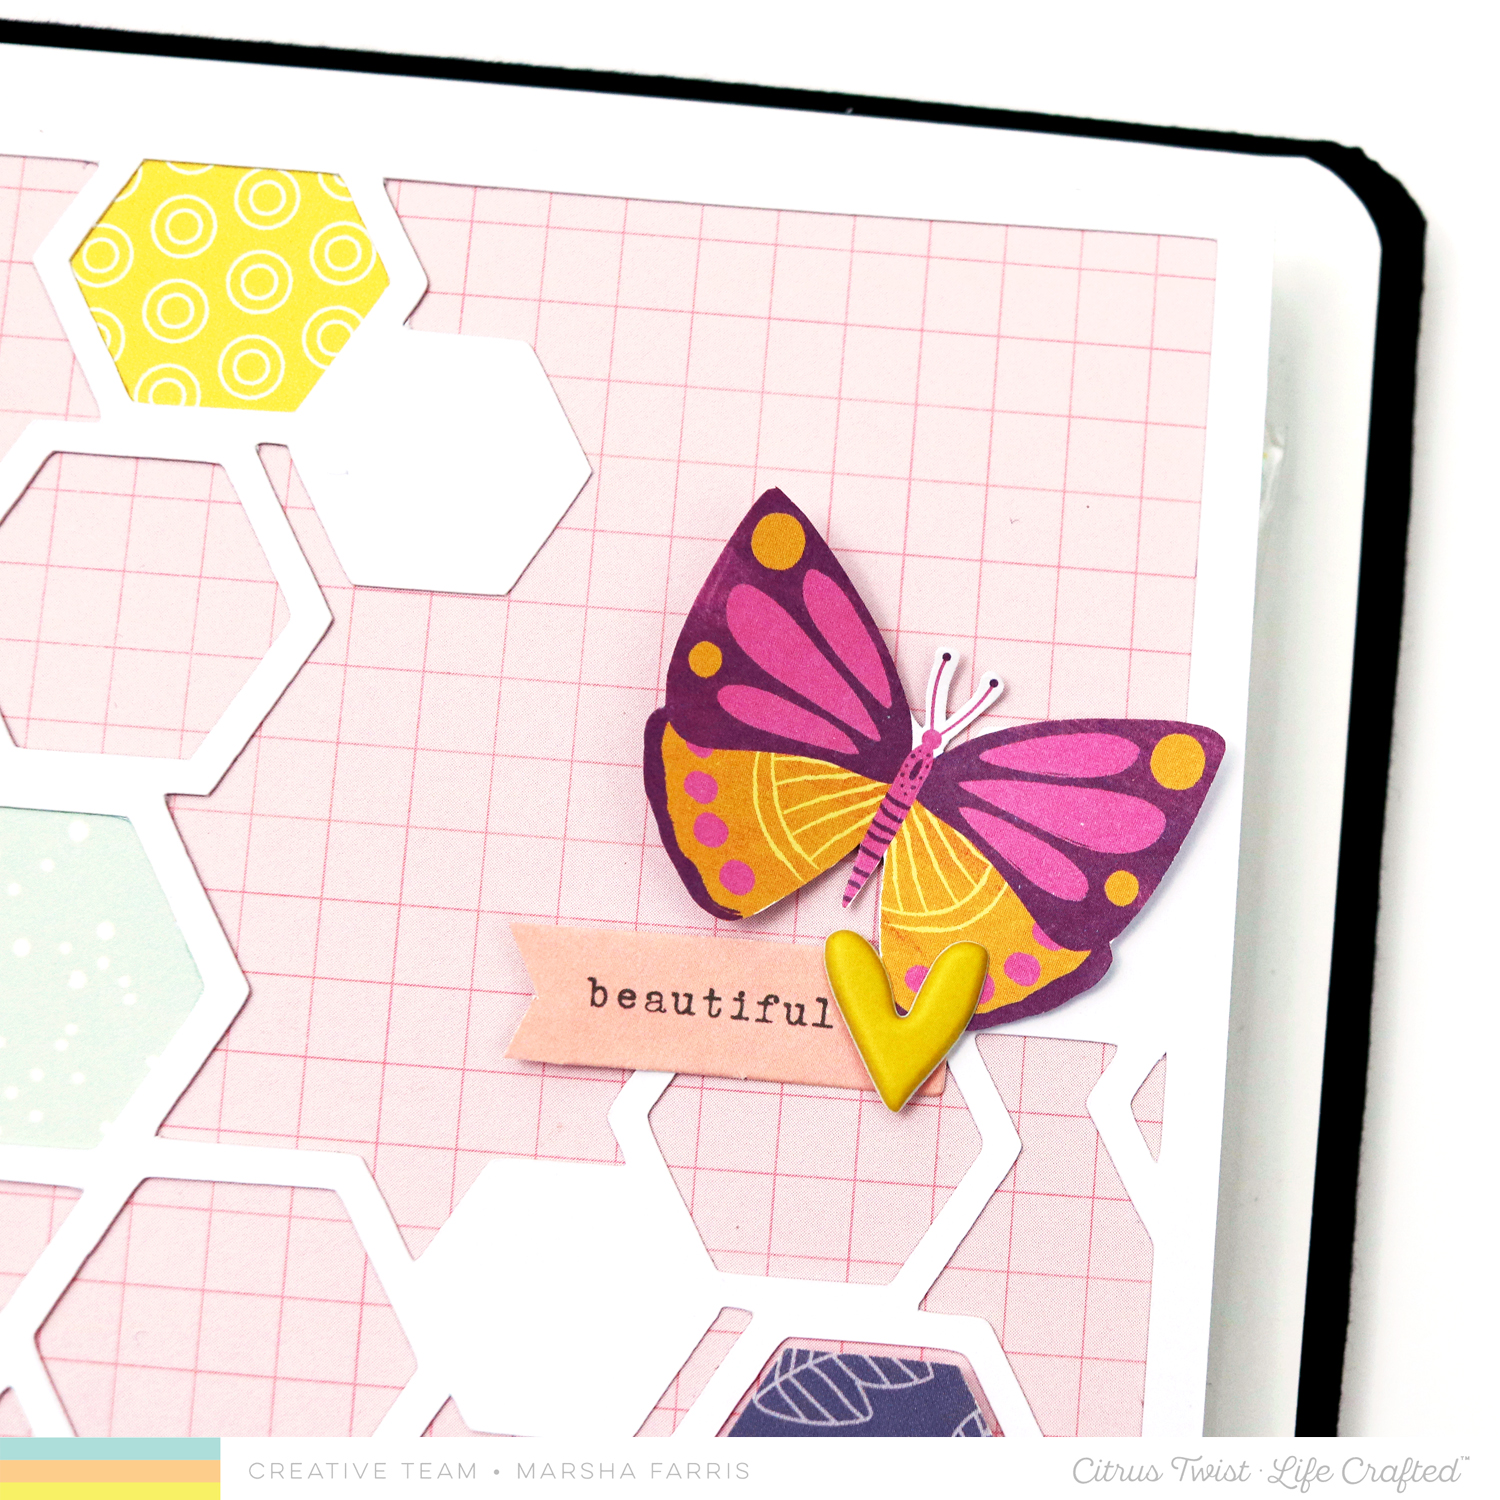
I decided to create a layout in my Life Crafted album documenting a fun photo taken at my grandmother's 90th birthday party earlier this year.   I began by cutting out the cut file using white cardstock.  I layered it over a piece of grid patterned paper from the Add-on kit, trimmed to 5"x8.25" (to fit in the LC album).  Next, I backed several of the hexagons with patterned papers from the Life Crafted kit, also adding foam behind one of the hexagons for added interest.  For the title, I used some puffy phrase stickers from the Pink Paislee Truly Grateful collection, found in the Add-on kit.  To embellish the page, I added some ephemera pieces, a butterfly, and a puffy heart sticker, all from the kits.


For the other page, I added a piece of purple patterned paper behind my photo.  I trimmed out a couple more hexagon shapes and added them around the page.  This made the spread more cohesive by using this shape on both sides of the layout.  Next, I used some puffy stickers and ephemera pieces to embellish.  Using the Life Crafted Stamp, I added some stamping to some of the clusters.  I also added some hand-written journaling to each side of my photo.  I prefer the look of typewriter or computer printed journaling, but it's nice sometimes to use my own handwriting, even if it is imperfect.


I love how this layout came together using these amazing kits!

Here's one final look at the spread:


Thank you for stopping by today!  I can't wait to see your take on this 3-to-Inspire challenge.  Be sure you share it with us on the Fan Facebook Page or on Instagram using #citrustwistkits!


Saturday, September 28, 2019

1st Day of 4th Grade | Technique Tuesday

Hey friends!  I am excited to be sharing a traveler's notebook layout using the Technique Tuesday Back to School Stamp Set and the Rectangle Bookplate Crafting Dies.  These sets are absolutely perfect for documenting school days!


To create this spread, I used mainly the Pinkfresh Studio Office Hours collection, along with a patterned paper from the Pinkfresh Studio A Case of the Blahs collection.  I thought this stamp set and dies set would be perfect for documenting my son's first day of school this year.

To begin the spread, I trimmed a patterned paper to 5" x 8.25" to fit in my Life Crated Album from Citrus Twist Kits.  I layered some patterned paper behind my photo, used the stamp set to stamp a pencil, and fussy cut it out.  I also used a patterned paper to add some color to the eraser portion of the pencil. 

Next, I used the dies and stamps to create the title for my layout.  I stamped "1st Day of" using black ink onto a piece of grid paper, and I used the crafting dies to cut out the bookplate from a piece of patterned paper.  Tile alphas and a puffy number sticker completed the title.


For the other side of the spread, I created a grid page using several of the stamps from the Back To School Stamp Set.  I began with a white cardstock base and used the stamp set and black and light gray ink to stamp onto a few label stickers.   I also stamped on some circular pieces and fussy cut a couple of the elements to add more interest to the page.


Here's a final look at the completed layout:


The Back to School Stamp Set and Rectangle Bookplate Crafting Dies are perfect for any type of school-related project.  Be sure to check them out, and all of the other stamp sets and crafting dies available in the Technique Tuesday shop.  Thank you for joining me today!

xo,
Marsha


Tuesday, September 24, 2019

Happy Haunting | The Cut Shoppe

Hey friends!  I'm here today sharing a traveler's notebook layout using the Happy Haunting Cut File and the Boo Who Digital Stamp.  Halloween layouts are so much fun to create, and there are so many fun Halloween designs to choose from at The Cut Shoppe!


Today, I am documenting a photo of my son and nephew taken a couple of years ago.  They have always loved dressing up in Luke's old costumes, and I was excited to create a page using this cute photo of them!

For this spread, I began by printing some of the digital stamps onto vellum.  I love using vellum on hybrid layouts, because it allows for easy layering over photos and other elements on the spread.  Next, I trimmed the "Happy Haunting" stamp and layered it over a piece of patterned paper from my stash, adding some machine stitching to adhere it to the page.  I used some stickers from the Crate Paper Hey Pumpkin collection to embellish the page.


For the other side of the layout, I cut out the cut file using a dot patterned paper.  I added my photo and used a circle punch to cut out one of the stamps I printed on vellum.  I layered it over my photo and added a tag behind the photo.  I printed another one of the digital stamps onto white cardstock, trimmed it out, and layered it over the bottom of the photo.


Next, I added an ephemera pumpkin to the page, layered one of the vellum stamps over it, and added some machine stitching to adhere it to the page.  I printed my journaling onto a label and added it to the bottom of the layout.  For the final finishing touch, I added some stamping around the page using black ink and some clear stamps from my stash.


Thank you for joining me today!  I can't wait to see what you create using the cut files and digital stamps from The Cut Shoppe!

xo,
Marsha


Saturday, September 21, 2019

City Views | Citrus Twist Kits

Hey friends!  I'm here today with this week's 3-To-Inspire challenge for Citrus Twist Kits.  This is a fun challenge, perfect for focusing on some of the fun goodies in this month's Life Crafted "Explore" Kit!

Here are the prompts:

1. Add puffy stickers
2. Use a large photo
3. Use a 3x8 bookmark

By using this list as inspiration, I was able to quickly create a fun layout in my Life Crafted Album, documenting a photo from my New York City trip last year.


I always enjoy using the 3x8 bookmark included in the Life Crafted kits each month.  For a different look, I rotated the bookmark, trimmed the corners, and punched a hole at the top, creating a large tag shape.  I also added two tabs to the side using a grid patterned paper.  This allowed me to punch holes, so it could be added to the album.  Using the This Is Life "Let's Wander" Stamp, I stamped the title onto a woodgrain patterned paper and used a metal circle die to cut it out.  I then used a larger metal die to cut out another circle, layering them together using dimensional craft foam. 


Next, I added some stamping to include the location and date.  Using the Traveler's Notebook Stamp, I added additional stamping to a label and adhered it to the edge of the tag.


For the other side of the layout, I added a 4x6 photo and used lots of the gorgeous puffy stickers from the Life Crafted Kit to embellish the page.  They were almost too lovely to use!


I'm excited to see what you create using these prompts!  Be sure to share your projects with us on the CTK Facebook Fan Page!

xo,
Marsha


Friday, September 13, 2019

Fall | The Cut Shoppe

Hey friends!  I'm here today sharing a traveler's notebook layout using the new Leaves Are Falling cut file, paired with the Fall Favorites Digital Stamp Set.  Fall is my favorite season, so I could not wait to create a spread using these fun designs from The Cut Shoppe!


Today, I am documenting a photo of my sons, taken last fall.  I thought the colors worked well with the Pink Paislee Again & Again collection.

To begin the layout, I sized the cut file to fit in my TN album and cut it out using white cardstock.  Next, I cut out the letters of the word "FALL" using a pink floral paper.  Rather than backing the cut file, I decided to use dimensional foam to add the letters.  I love how the cut file pops against the woodgrain patterned paper!

To finish off this page, I created a small cluster in the bottom corner using a phrase sticker, ephemera tag, and puffy stickers.


For the other side of my spread, I added my photo and backed it with patterned paper and vellum.  I used a tag and some puffy stickers to embellish around the photo.  I printed the word "favorite" from the digital stamps onto some vellum, trimmed it out, and stapled it to the photo.


Next, I printed a circular piece from the stamp set onto some vellum and punched it out.  I printed a leaf design, also from the stamp set, onto some patterned paper and fussy cut it out.  I adhered it to the center of the vellum piece.  I love this added pop of color and texture!


Thank you for stopping by today!  Make sure you check out the new digital stamps available at The Cut Shoppe.  They are perfect for using on their own on a project or pairing with a cut file.  See you again soon!

xo,
Marsha

Monday, September 2, 2019

Time Together | Citrus Twist Kits

Hey friends!  I'm here today sharing a layout in my traveler's notebook.  I used the NEW Citrus Twist Kits September Explore Life Crafted Kit to create this spread.  It is such a beautiful kit, and the colors are gorgeous!

Here's a look at the layout I created:


For my spread today, I documented a photo of my mom and me, taken last month.  Every year, around our birthdays, we spend a day together shopping, eating lunch at our favorite restaurant, and just enjoying the day.  It is such a fun tradition!

I began my layout by printing two of the digital Traveler's Notebook grid papers, altering them slightly in Photoshop to remove the word "FUN" from the bottom of the paper.  I love that Citrus Twist is now offering this option of digital TN papers!  Next, I chose one of the 4x6 journaling cards and trimmed it to fit in the TN.  I love the design of this card, and it works perfectly with my photo.  I also trimmed a woodgrain paper from the kit and layered it behind the journaling card.  To embellish around the photo, I did some stamping using the Explore Life Crafted Kit Stamp and added some of the ephemera pieces and puffy stickers.


To complete this area, I added some machine stitching using a zig-zag stitch.  I love the texture and interest it adds to a page!


For the title, I used the chipboard alpha and a stamp from the kit.  I added some ephemera pieces and a puffy sticker and added more machine stitching to complete the page.

This TN layout came together so quickly using this kit!


Thank you for joining me today!  Be sure to stop by the Citrus Twist Kits shop to check out the new kits and stamps!


Friday, August 30, 2019

Hello | Citrus Twist Kits

Hey friends! I'm excited to be back today sharing another layout in my Life Crafted Album.  I used the August Chasing Rainbows kit, the Traveler's Notebook Digital Papers, and the 2x3 Stamp Add-on to create this spread.

Here's a look at the layout:


To begin my spread, I printed a TN paper to use as my background and adhered it to a piece of white cardstock, sized to fit in the Life Crafted album.  I layered patterned papers behind my photo and used the fun acetate pieces from the kit to embellish around the photo.  The acrylic "Hello" piece was perfect for my title, and I used more acetate pieces and a stamped sentiment to complete the title.


For the other page, I used Page Protector #2 that holds 2- 3x4 cards.  I trimmed a patterned paper from the kit to fit in the pocket and adhered two acetate pieces to the paper.  I used a mini Xyron Sticker Maker to adhere the acetate, and it works perfectly for this.  I then added two more acetate hearts to finish off the card.


For the other pocket, I trimmed down the 3x8 bookmark to 3x4.  I typed my journaling, trimmed it into strips, and added it to the card.  I stamped the date using a roller date stamp, and I stamped a phrase to the bottom of the card using the 2x3 Stamp Add-on.


Thank you for stopping by today!  Please share your projects using this kit with us on the Citrus Twist Kits Fan Page on Facebook.  I can't wait to see what you create!


Monday, August 26, 2019

Back to School | The Cut Shoppe

Hey friends!  I'm here today sharing a traveler's notebook layout using the Background Check cut file from The Cut Shoppe.


When this cut file was added to the shop, I knew I wanted to create a layout documenting my sons' first day of school last year.  It is such a perfect cut file to use in a traveler's notebook, too!

To begin my layout, I cut out the cut file using white cardstock.  I backed the numbers three and nine using some patterned paper from my stash.  I chose to only back those two numbers, making them stand out from the background.  I then adhered the entire cut file to a piece of patterned paper.  To embellish this page, I added a few puffy stickers and used some alpha stamps to stamp my sons' names.


For the other side of the spread, I layered some patterned papers behind my photo and then used some ephemera pieces and puffy stickers to embellish the page.


I used some white puffy alpha stickers and alpha stamps to add the title.  I just love how this layout turned out using this cut file!


Thank you for joining me today!  I hope you will stop by The Cut Shoppe store and check out all of the fun cut files that are currently available!


Wednesday, August 14, 2019

Success Story | Citrus Twist Kits

Hey friends!  I'm here today sharing a layout in my Life Crafted Album.  I used the fabulous Citrus Twist Kits August Scrapbooking Add-on kit, the subscriber exclusive Ampersand Love cut file, and the Simple Words Version 2 stamps.

Here's a look at the layout:


For this layout, I began by cutting out the cut file using white cardstock.  Because I planned to use the cut file on the left side of the layout, I trimmed the thick white border from the left side of the cut file.  I backed the ampersand portion of the cut file with a patterned paper from the kit and mounted the entire file onto another patterned paper from the kit, trimmed to 5"x8.25" to fit in the Life Crafted Album.

I added the title using a fabric ephemera piece and a gold title piece, both from the kit.  Next, I added some stamping, another fabric ephemera piece and some puffy stickers to complete this side of the layout.


For the right side, I began by layering some patterned papers behind my photo.  I embellished around the photo using cardstock ephemera, puffy stickers, and fabric ephemera pieces.  I also added some stamping using the Simple Words Version 2 stamp.  This set includes so many fun sentiments!  Using some sharp scissors, I trimmed and pieced together two different stamps in the set to make a phrase I stamped at the top of the page.  Don't be afraid to make your stamps work for you and your layouts!


Here's a final look at the spread in my album:


Thank you for stopping by today!  I hope you will check out the fun new cut files and the amazing Scrapbooking Add-on kit available this month at Citrus Twist Kits.  I will see you again soon!